How to use Cosmetic Adhesive
Today I'm going to show you 2 different ways to use our Cosmetic Dries Clear Adhesive. We get a lot of questions asking how to use the Cosmetic Dries Clear Adhesive. This adhesive is made for glitter application on the skin for long-lasting results. Once glitter is applied, this adhesive is waterproof, sweatproof and smooth to the touch for up to 5 days! I will show you how to overlay glitter on top of an existing tattoo. I will also show you how to use a stencil to create your own glitter tattoo! I hope you enjoy creating some glitter tattoos!!
List of items needed:
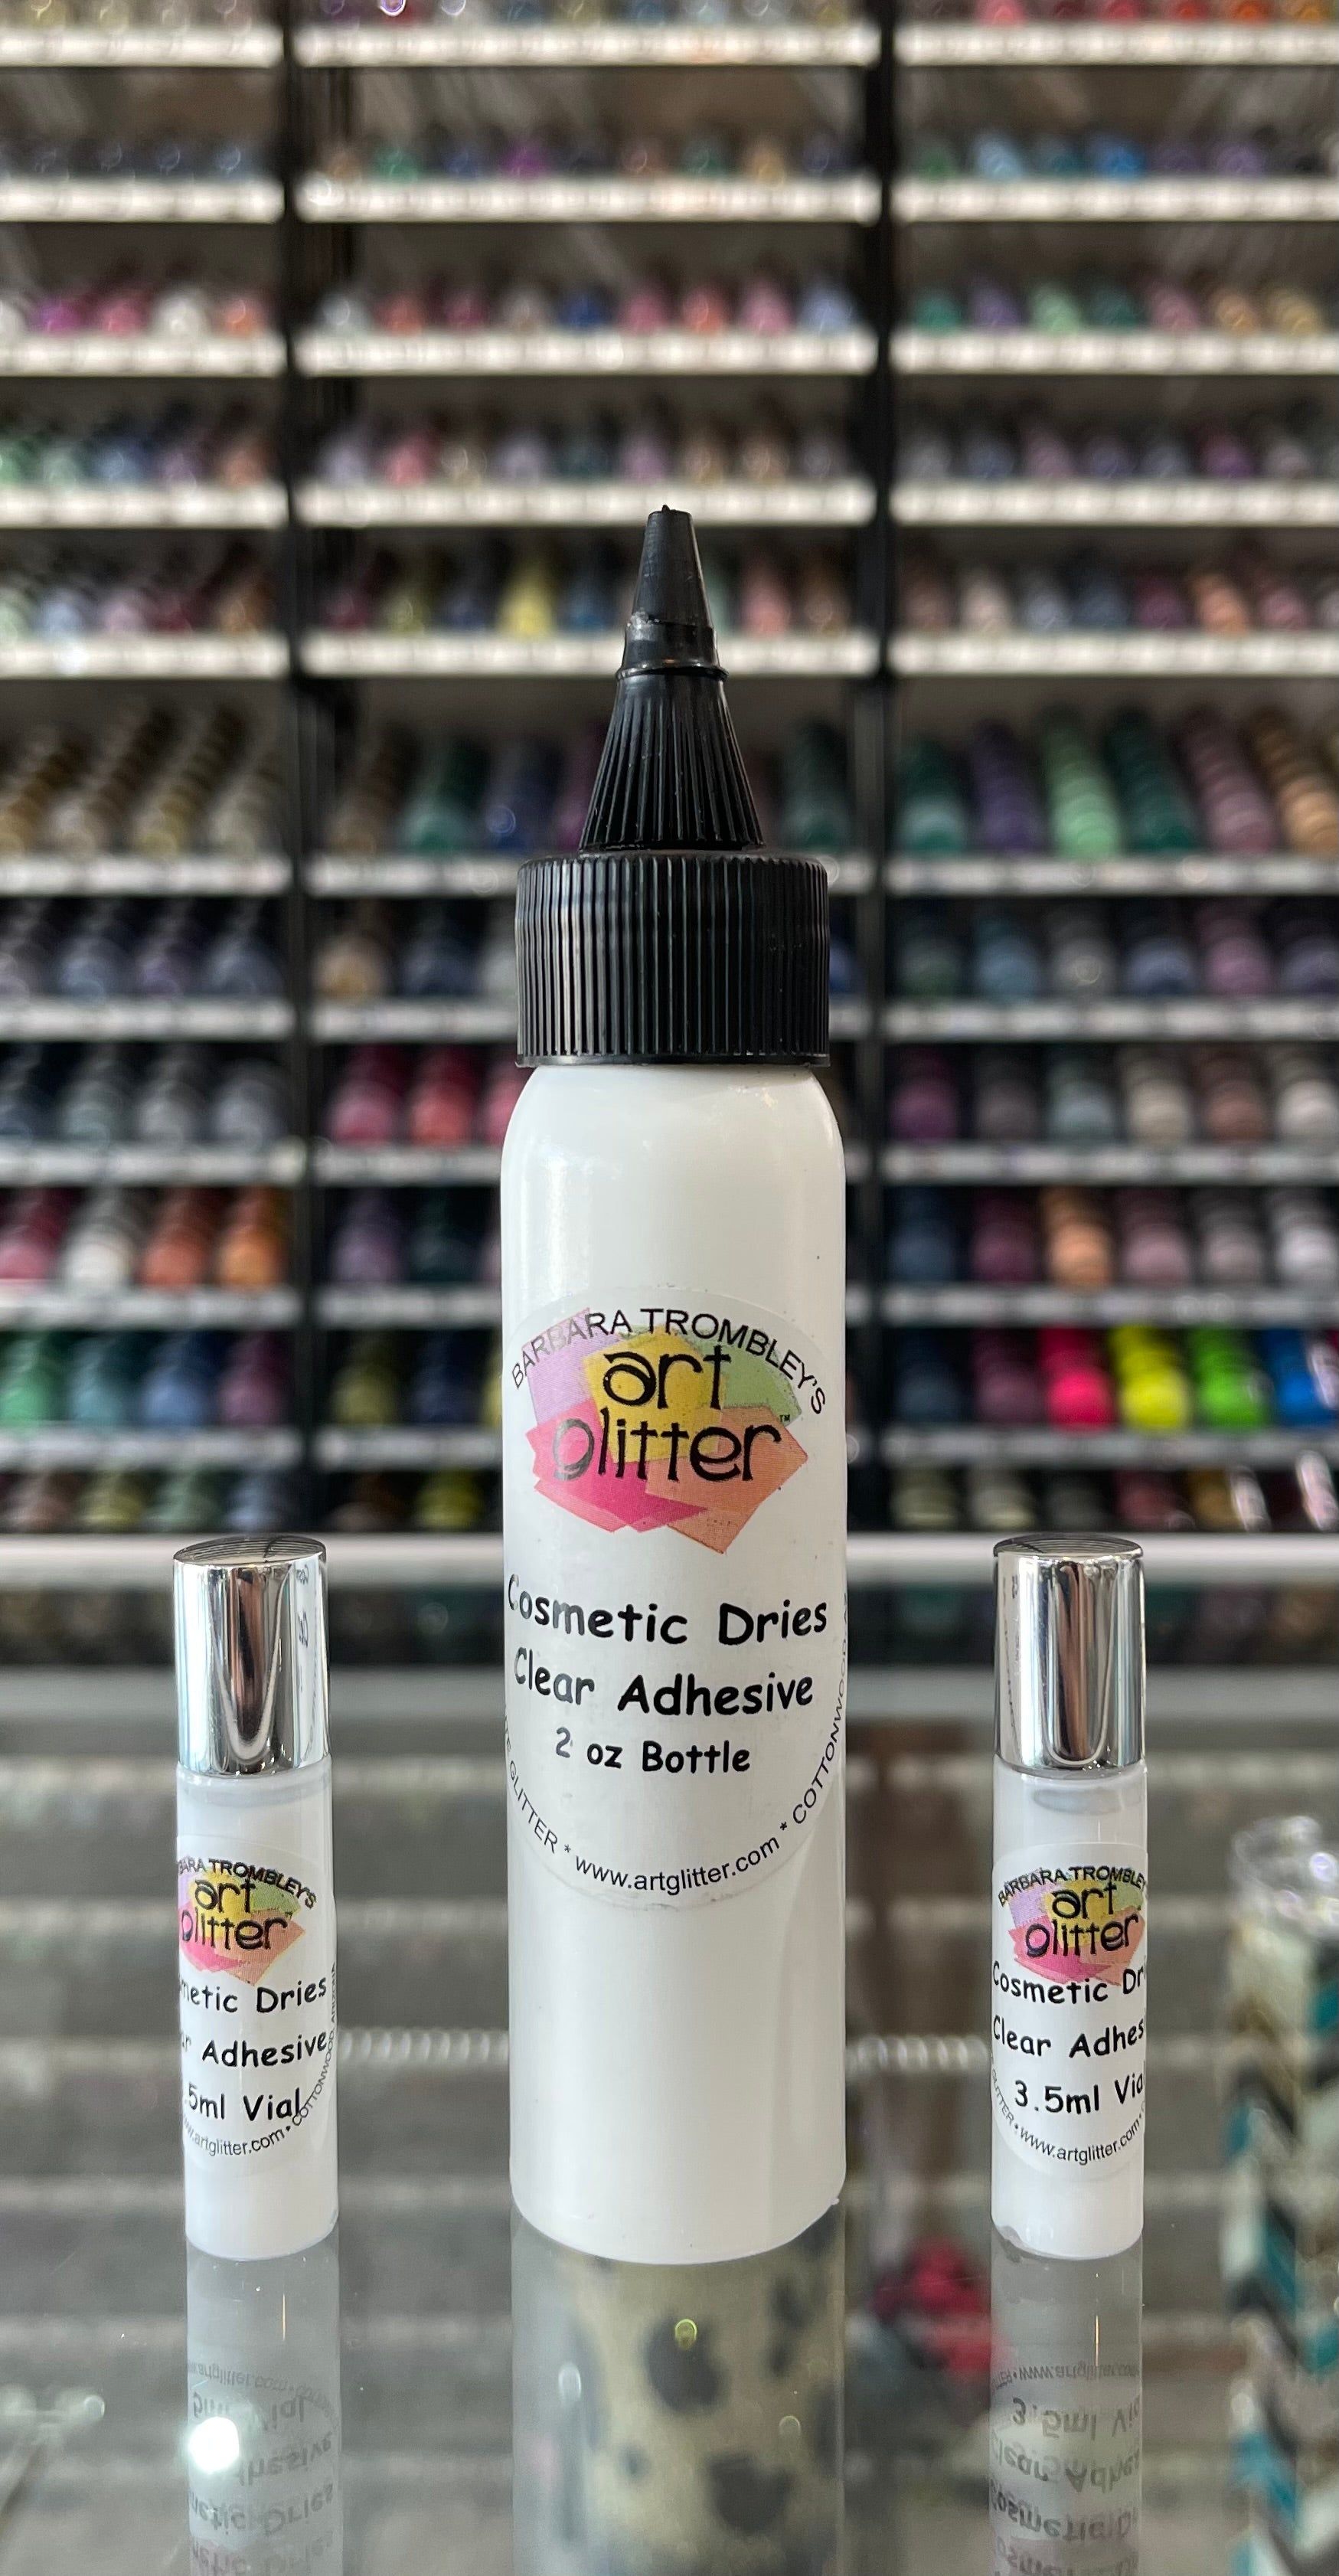
- Cosmetic Dries Clear Adhesive
- Fine Tip Brush (such as an eyeliner brush)
- Blush Brush
- Eyeshadow Brush
- 1/4 Oz jar of Art Glitter Ultrafine Glitter (color of your choosing)
- Adhesive Stencil
How To Overlay Glitter On A Real Tattoo

Step 1: Use the Fine Tip Brush to apply a thin layer of Cosmetic Dries Clear Adhesive. Be careful as to not go back and forth over the same spot as it dries quickly.

Step 2: Allow the Cosmetic Dries Clear Adhesive to dry completely, before applying glitter. The adhesive will come out white at first, once it is fully dried it will be clear.

Step 3: Using the eyeshadow brush, dip it into the glitter of your choice, and tap it onto the tattoo you applied the Cosmetic Dries Clear Adhesive to. Continue this step until you have covered the entire tattoo with glitter.

Step 4: Using the Blush Brush brush off the excess glitter from the tattoo. Any glitter that is not on the Cosmetic Dries Clear Adhesive will come off during this step.

Here is what the finished glitter overlay tattoo looks like.
How To Use A Stencil To Make A Glitter Tattoo

Step 1: Apply the adhesive stencil where you want your glitter tattoo. Make sure it adheres to all parts of your body. You don't want any of the edges sticking up, as it will allow the Cosmetic Dries Clear Adhesive to run under the stencil.

Step 2: Apply Cosmetic Dries Clear Adhesive to the inside of the stencil. You can use the applicator brush from the smaller size bottle of adhesive. You want to be careful as to not go back and forth over the same spot as the adhesive dries quickly.

Step 3: Remove the stencil as soon as all the adhesive has been applied. You do want to remove the stencil before applying your glitter.

Step 4: Wait for the Cosmetic Dries Clear Adhesive to dry. When you first apply it, it will be white. You want to wait for it to turn clear in color.

Step 5: You will use the eyeshadow brush and dip it into your glitter. Use a dabbing motion when applying your glitter. You don't want to use a brushing motion as you could move some of the adhesive before its fully set.

Step 6: Use the blush brush to remove any excess glitter around where you applied the tattoo.

When you are finished, your glitter tattoo should look similar to this, depending on the deign you chose.
Leave a comment
Comments will be approved before showing up.