How to glitter a pair of checkered Vans
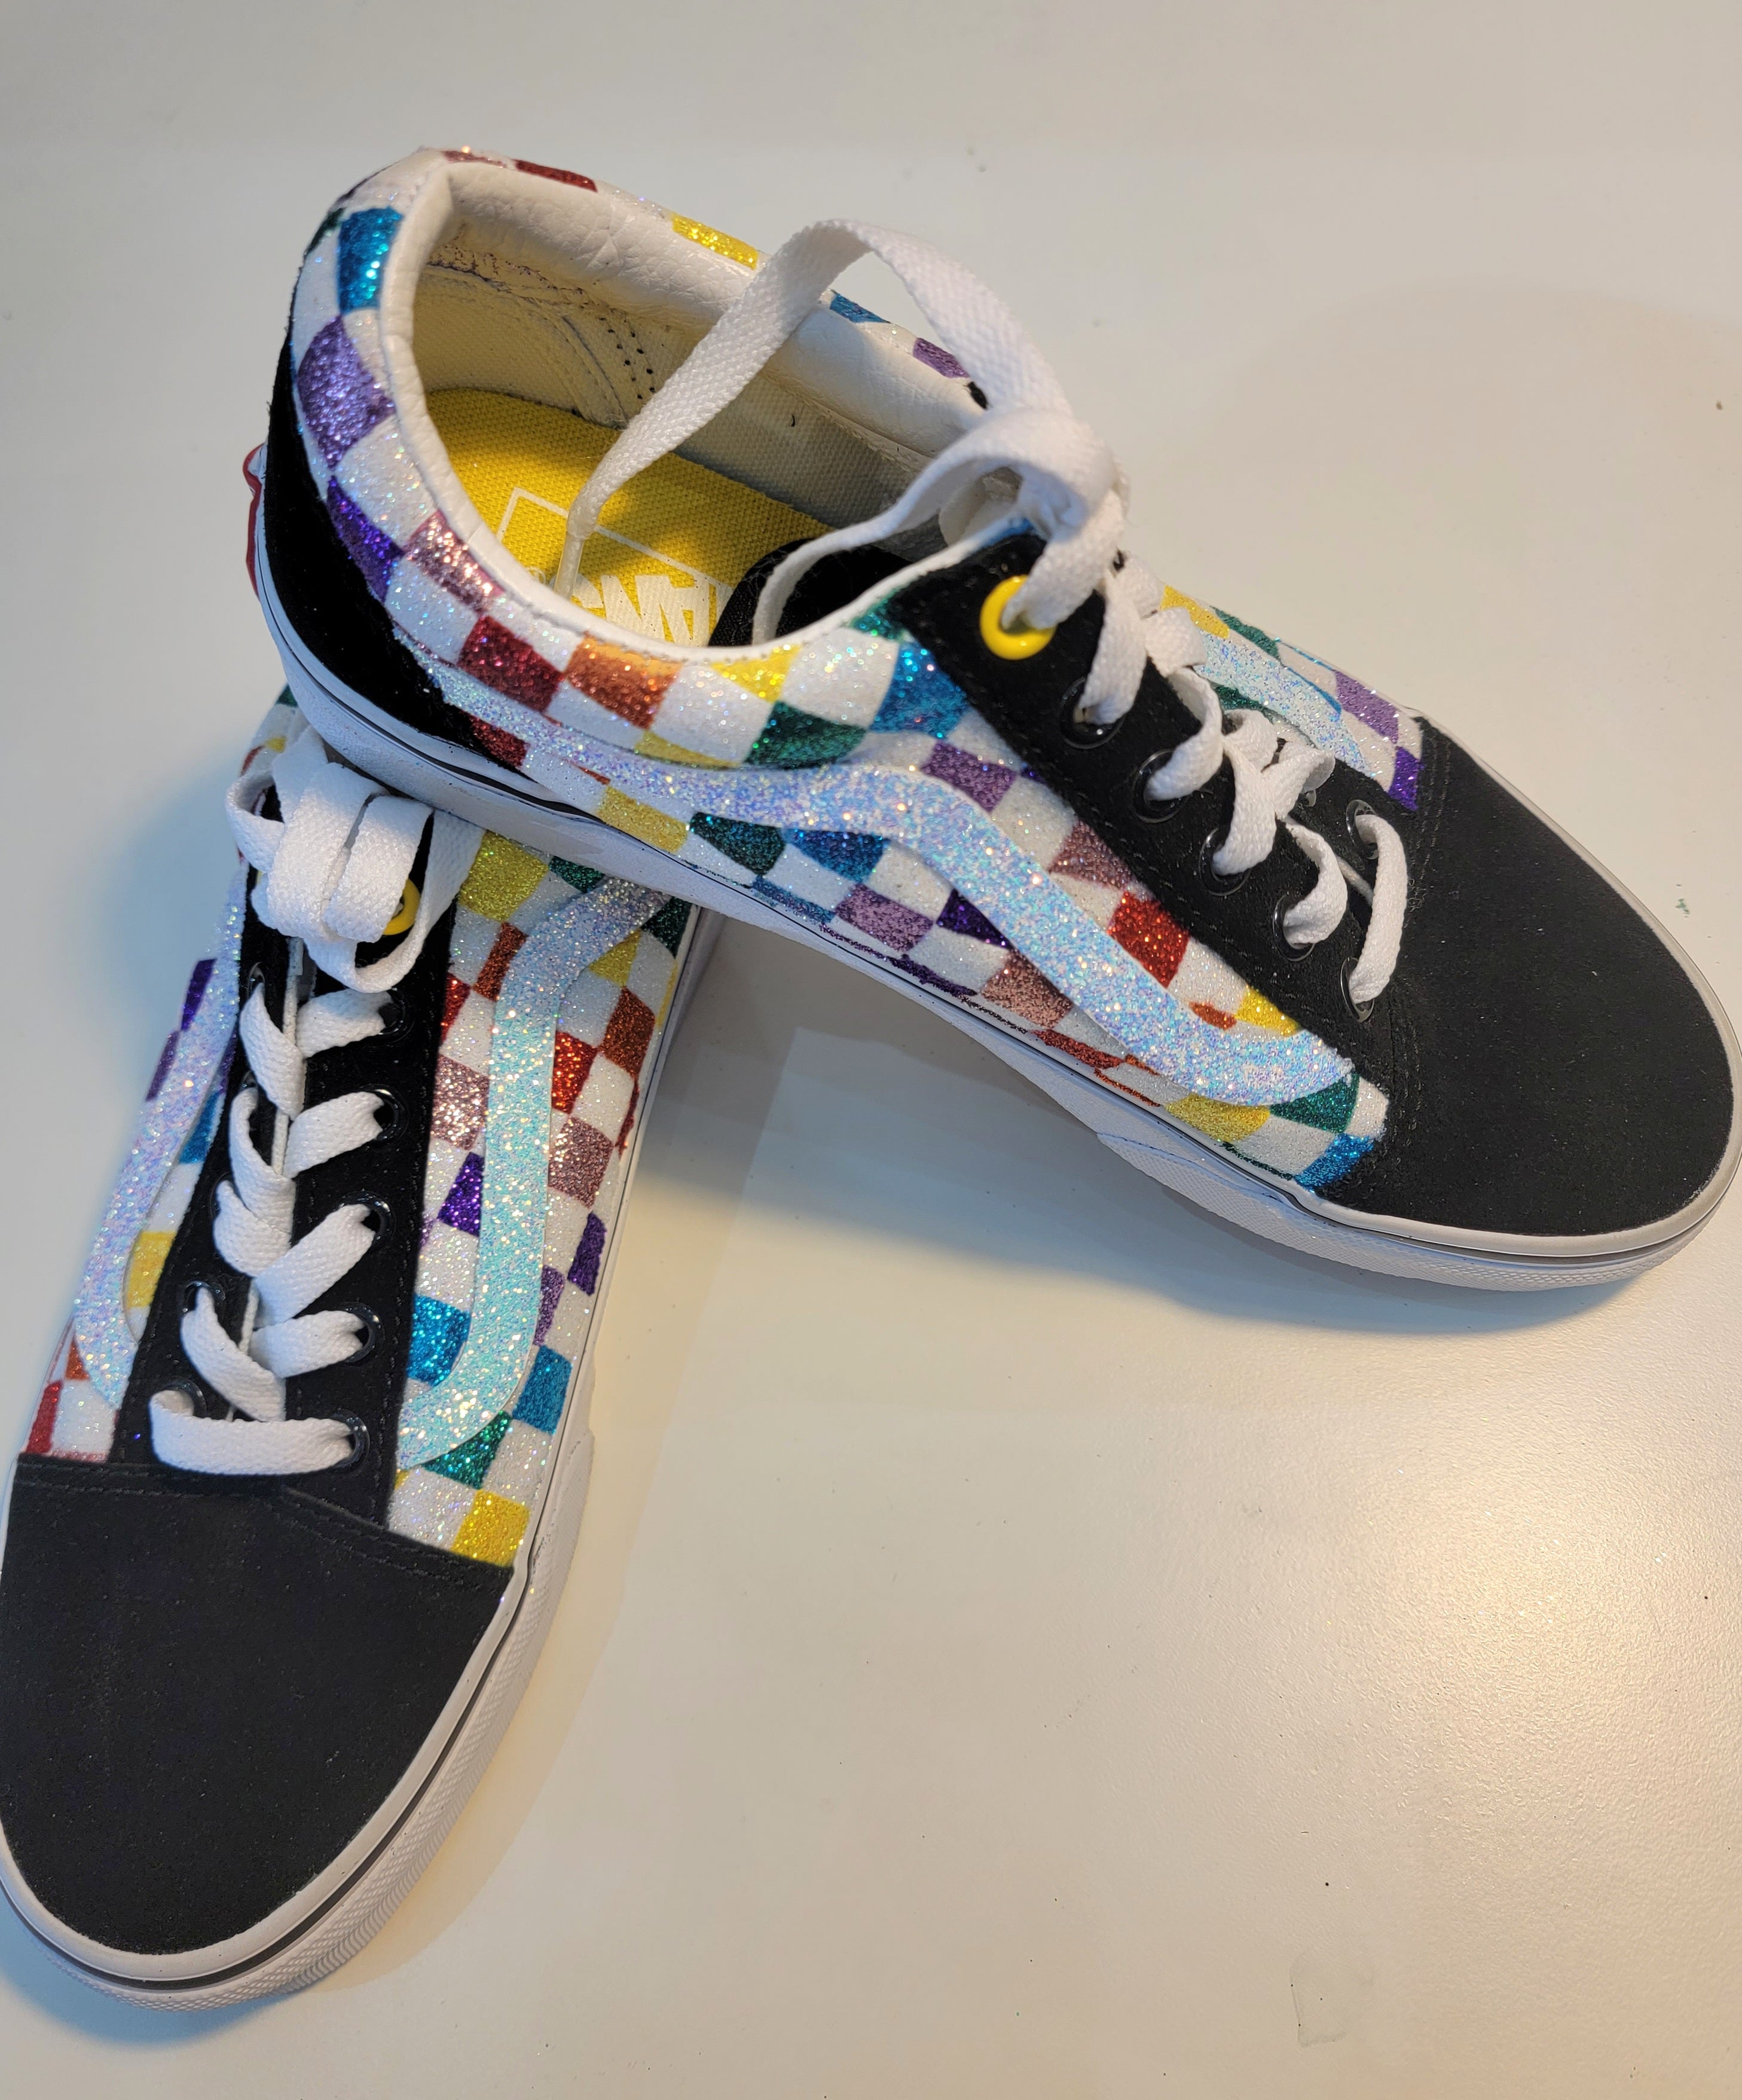
Today I am going to show you how to add some sparkle to those old checkered Vans you have sitting in your closet. Glittered Vans will be great for parties, graduations, dances, or just to add a little pep in your step daily. You can choose whatever glitter colors that will match your Vans you have at home. You will want to stick to opaque ultrafine glitter for this project. If you would prefer a premade kit, we have several options available with different color themes. The colors I will be using for this blog are listed here:
List of items needed:
Pair of Vans checkered shoes
Painters tape / scotch brand green tape
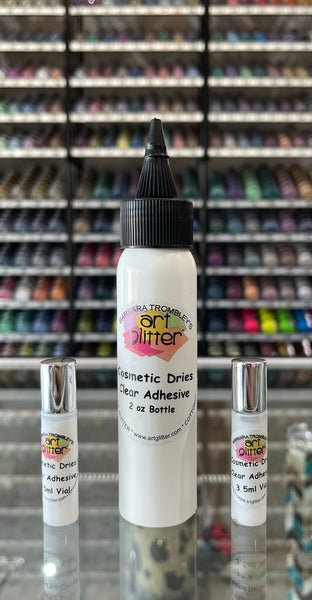
2oz Designer Dries Clear Adhesive
Metal Tip Attachment (How-to install metal tip blog)
1/4oz Size Jars of Opaque Ultrafine Glitter (whatever colors match your Vans)
Spoon (used to apply glitter)
Piece of Paper (you will work over it to catch the spills of glitter so you can pour back into the jar)
Small Tray or Dish (you will use this to put your glitter in for easier application)
Make-Up Brush or Paintbrush
Step 1: Remove shoes laces from both shoes.

Step 2: Use the masking tape to tape off the sides of the rubber sole. This will help prevent glitter from sticking to the rubber. Repeat on both shoes.

Step 3: Prepare your adhesive for use. Remove the black cap, exposing the safety seal. Remove the safety seal and screw the black cap back onto the bottle. Unscrew and remove the cover off the black cap. Open your metal tip packaging and retrieve your metal tip. Install the metal tip on the top of the spout of the black cap. If you need more instruction on how to properly install your metal tip, check out our blog on How To Install A Metal Tip.

Step 4: Pour your glitter into trays for easier application. Repeat this step for however many different glitters you have.

Step 5: Set up work area. Lay down your piece of paper. Get your first color tray and put a spoon in it. Have your adhesive ready to go, and noodger near by. Last piece you need is one of the taped Vans.

Step 6: Apply adhesive to the first area you will to glitter. You want to start with the darker colors and move to the lighter colors, if you won't be allowing adhesive to fully dry in between colors. The reason for this is to avoid the darker glitter sticking to the lighter glittered areas while the adhesive is still wet. You'll end up with cross contaminated colors.

Step 7: Using the spoon, apply glitter to the square you just applied adhesive to. You will want to make sure you cover the entire area that has adhesive on it.

Step 8: Using you hand, tap the bottom of the shoe into your glitter tray. Give it a few taps to remove some of the excess glitter. There will still be some excess glitter, we will remove that once the adhesive has fully dried.

Step 9: Optional as this step is only necessary if you got adhesive and glitter outside the area you wanted it. You use this similar to a squeegee. You can gently push against the glitter and move it over without smearing the adhesive or glitter.

Step 10: Once you finished glittering every area you wanted done, allow to sit and fully dry. Full try time is 1-2 hours, or if its a non-porous surface 8 hours. Use your make up or paint brush to dry brush the excess glitter.

Step 11: Remove masking tape.

Step 12: Lace up your new glittered Vans.

Repeat all these steps to complete your other shoe. Once the adhesive is fully dry, you are good to wear them. Our adhesive is permanent once it'd dried. The glitter isn't going anywhere. You do not need to use any spray sealer. Doing so will dull down the shine of your glitter, as well as cause crack marks in the glitter when you wear them and the fabric moves.
Leave a comment
Comments will be approved before showing up.